In This Guide
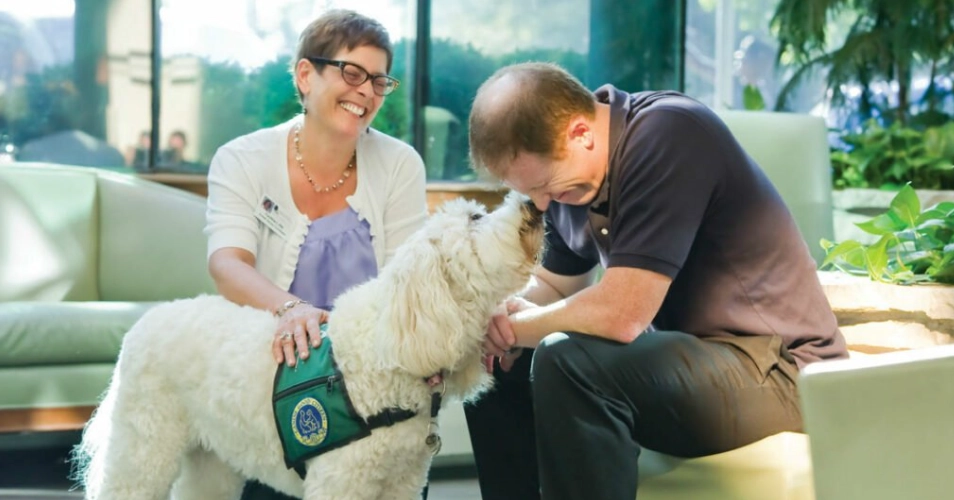
Let's be honest, taking your dog to a professional groomer every few weeks adds up. I remember looking at my bank statement one month after my Golden Retriever, Murphy, got his "summer cut" and I just thought... there has to be a better way. I was nervous, of course. The last thing I wanted was to give my best friend a bad haircut or, worse, hurt him.
But after a lot of research, some trial and error (Murphy was a very patient test subject), and conversations with a few groomer friends, I figured it out. And you can too. Doing professional-level dog grooming at home isn't about fancy certificates; it's about patience, the right tools, and knowing a handful of key techniques. This guide is everything I wish I'd known when I started.
We're going to move past the basic "give your dog a bath" advice. We're diving into the real professional dog grooming tips at home that make the difference between a messy, stressful wash and a smooth, salon-quality groom in your own bathroom.
Why Bother with At-Home Professional Grooming?
It's not just about saving money, although that's a huge perk. For some dogs, the grooming salon is a source of major stress. The strange noises, other animals, and being handled by someone new can be terrifying. Grooming your dog at home in a familiar environment can be a calmer, more bonding experience.
You also gain total control over the products used. If your dog has sensitive skin, you can pick a perfect, gentle shampoo. You decide how short the fur gets. You can take breaks exactly when your dog needs them. It turns grooming from a chore into part of your care routine.
That said, it's not for every situation. If your dog is severely matted, extremely aggressive, or needs complex medical grooming, a professional is still the safest choice. But for regular maintenance? Absolutely doable.
The Non-Negotiable Tool Kit for Home Grooming
You can't build a house without a hammer, and you can't achieve professional dog grooming results at home with just human shampoo and kitchen scissors. Investing in the right tools is your first and most important step. Don't go crazy and buy everything at once. Start with the essentials.
Essential Tools You Must Have
- A High-Quality Slicker Brush: This is your workhorse for removing tangles and loose undercoat. Get one with fine, bent wires. The cheap, hard ones can scratch the skin.
- A Steel Comb: This is the truth-teller. After brushing, the comb should glide through the coat to the skin without snagging. If it catches, you've missed a tangle.
- Dog-Specific Shampoo & Conditioner: Human pH levels are different and can dry out a dog's skin. Get a good, concentrated shampoo suited for your dog's coat type (oatmeal for sensitive skin, whitening for white coats, etc.).
- Professional-Grade Clippers: This is where I splurged. Pet clippers like the Andis or Wahl models are designed to run longer without overheating. The motor is stronger for thicker coats. Cheap clippers pull, heat up, and die quickly, making the process miserable for everyone.
- Clipper Blades & Guards: Different lengths for different jobs. A #10 blade is great for sanitary areas and paw pads. A #30 or #40 is for very close cuts. Always use guard combs over the blade for longer, uniform lengths.
- Grooming Shears (Straight and Thinning): Straight shears are for precise lines (around ears, feet). Thinning shears are magical—they blend and soften lines without leaving a choppy cut. Never use these on mats.
- A Force Dryer or High-Velocity Dryer: This might seem like a luxury, but it's a game-changer. It blows water out of the undercoat instead of baking it in with heat, preventing hot spots and speeding up drying time exponentially. It also helps blow out loose fur.
- Nail Clippers or a Grinder: Choose your weapon. Guillotine-style or scissor-style clippers work, but a grinder (like a Dremel) files the nail down smoothly and is less likely to hit the quick.
Let's break down clipper blades because this confused me for ages. The number system is backwards: a higher number means a shorter cut.
| Blade Number | Cut Length | Best For |
|---|---|---|
| #3, #4 | ~1/2", ~3/8" | Leaving a medium-long coat, summer cuts for thick coats. |
| #5, #7 | ~1/4", ~1/8" | Shorter all-over cuts, popular for many breeds. |
| #10 | 1/16" | Sanitary areas, paw pads, clean faces. The most versatile blade. |
| #30, #40 | Very close | Pre-surgery shaving, very short cuts. Can irritate skin if not careful. |
Always, always use coolant spray on your blades to keep them from overheating and burning your dog. A hot blade is a one-way ticket to a dog that will hate grooming forever.
The Step-by-Step Process: A Pro's Routine at Home
Professional groomers follow a set order for a reason. It's efficient and keeps the dog comfortable. Mimic this flow for your own at-home professional dog grooming session.
Step 1: The Pre-Bath Brush-Out
Never, ever bathe a matted dog. Water will tighten mats into impossible, felt-like clumps that can only be shaved out. This step is the most important of all professional dog grooming tips at home.
Start with the slicker brush, section by section. Brush in the direction of hair growth, then lift the hair and brush the undercoat. Follow up immediately with your steel comb. If the comb hits a snag, go back with the brush or, for a single stubborn tangle, carefully work it apart with your fingers from the tips inward. For large mats, it's safer to carefully shave them out with a #10 blade before the bath.
Step 2: Bath Time Like a Spa
Use lukewarm water—test it on your inner wrist. Thoroughly wet your dog all the way to the skin. This takes longer than you think, especially on double-coated breeds.
Dilute your shampoo according to the bottle instructions (usually 1 part shampoo to 3-5 parts water) in a separate bottle. This helps it spread evenly and rinse out completely. Apply from the neck down, avoiding the eyes and inner ears. Massage it in deeply. A rubber bathing brush feels amazing for them and helps lift dirt.
Rinse, rinse, and rinse again. Shampoo residue is a major cause of itchy skin. The water should run completely clear. Then apply conditioner, let it sit for a few minutes, and rinse thoroughly again.
Step 3: The Professional Dry
This is where the high-velocity dryer earns its keep. Start on a low setting away from the dog to let them get used to the noise. Towel dry first to remove excess water.
Use the dryer to push the water out of the coat. Hold the nozzle a few inches away and move it in the direction the hair grows. Use your other hand to fluff and separate the hair as you dry. For double-coated dogs, you'll see clouds of loose undercoat blowing out—this is normal and great for reducing shedding. Ensure the dog is 100% dry, especially the dense undercoat, before you even think about clipping. Clipping a damp coat will ruin your clipper blades and give an uneven cut.
A completely dry coat is non-negotiable for clipping.
Step 4: Clipping & Scissoring with Confidence
Now for the part that makes everyone nervous. Start with the body using your chosen guard comb. Always clip against the direction of hair growth for an even cut. Move the clippers in long, smooth strokes, overlapping your passes. Let the clippers do the work—don't press down.
For tricky areas:
- Legs & Paws: Use a longer guard comb than the body for a more natural look. Brush the hair down and trim around the paw pads with a #10 blade, being incredibly careful between the toes.
- Sanitary Area: Use a #10 blade (without a guard) to carefully shave the belly from the umbilicus to the genitals, and around the anus. Keep the skin taut and be mindful of folds.
- Face & Ears: This requires scissors, not clippers, for most breeds. Use blunt-tipped, curved shears for safety. Hold the ear leather firmly and trim around the edges. For the face, use thinning shears to carefully shape and blend, removing hair that blocks the eyes.
Step 5: The Finishing Touches (Nails, Ears, Teeth)
These are often the most stressful parts, so doing them last when the dog is tired and clean can sometimes work in your favor.
Nails: If using clippers, identify the quick (the pink inner part with blood vessels). In light nails, it's visible. In black nails, it's a guess. Take off tiny slices from the tip. If you see a black dot in the center of the freshly cut nail, you're getting close to the quick. If you hit it, use styptic powder to stop the bleeding. A grinder is often less stressful as you just file the tip down a little at a time.
Ears: Put a few drops of a vet-approved ear cleaner into the ear canal, massage the base of the ear, and let your dog shake. Then use a cotton ball to wipe out the outer crevices. Never use Q-tips deep in the ear canal. Pluck ear hair only if your dog is prone to ear infections and your vet recommends it; otherwise, it can cause irritation.
Teeth: A quick brush with dog toothpaste (never human) is a great habit. It doesn't need to be a marathon session.
Breed-Specific Considerations & Common Mistakes
Not all coats are created equal. Applying the same professional dog grooming tips at home to a Poodle and a Husky will lead to confusion.
Double-Coated Breeds (Huskies, Shepherds, Retrievers): Never shave them. I repeat, do not shave them. Their undercoat insulates them from both heat and cold. Shaving ruins the coat's ability to regulate temperature and can cause permanent damage. Your job is to deshed through thorough brushing and blowing out the undercoat with the dryer.
Curly/Wiry Coats (Poodles, Terriers): These coats require frequent brushing to prevent mats and often look best with a defined clip. Clipping is a must. They are great candidates for learning more advanced at-home styling.
Silky Coats (Yorkshire Terriers, Maltese): These tangle easily. Daily combing is essential. Many owners keep them in a short "puppy cut" for manageability, using clippers with a guard comb all over.
Common Mistakes to Avoid:
- Rushing: This is the root of most problems. Set aside 2-3 hours for a full groom.
- Skipping the Brush-Out: Bathing a tangled coat makes everything worse.
- Using Dull Tools: Dull blades pull hair. Dull scissors crush it. Keep them sharpened.
- Ignoring the Dog's Signals: If your dog is panting heavily, shaking, or trying to flee, take a break. Force creates fear.
Safety First: When to Call a Professional
Part of being a responsible home groomer is knowing your limits. Your dog's well-being is more important than saving money.
You should seek a professional groomer or veterinarian if:
- You find severe, skin-tight mats.
- Your dog shows signs of aggression (snapping, growling) during handling.
- You discover any unusual lumps, sores, rashes, or signs of infection on the skin.
- Your dog has a medical condition that makes grooming risky.
- You are simply too anxious. Dogs pick up on your nervous energy.
There's no shame in it. Sometimes, the most professional dog grooming tip at home is knowing when to hand the job over.
Your At-Home Grooming Questions, Answered
Building a Positive Experience
This is the secret sauce that no tool can buy. Make grooming a good thing.
Start when your dog is young, even if it's just handling their paws and touching them with a brush. Keep sessions short and positive. Use their favorite treats liberally throughout the process—not just at the end. Talk in a calm, happy voice.
If you get frustrated, stop. It's okay to finish the groom tomorrow. The goal isn't just a good haircut; it's a dog who trusts you and isn't afraid of the process. That trust is what turns a stressful task into a routine part of life, and it's the ultimate goal of mastering professional dog grooming tips at home.
Honestly, my first few at-home grooms were mediocre at best. But Murphy didn't care. He was just happy to be with me, getting treats and attention. Now, he sees me get out the brush and he plops down, ready for his spa day. That bond, that calm routine, is worth more than any perfect show cut. Give yourself grace, go slow, and enjoy the time with your pup. You've got this.

Join the Conversation