Let's be honest. The idea of grooming your dog yourself can feel overwhelming. You picture a wiggly, wet dog, sharp scissors near sensitive areas, and the potential for a very unhappy pet. But here's the truth most groomers won't tell you upfront: a consistent, calm home grooming routine is often better for your dog's long-term comfort and trust than sporadic, stressful salon visits. The key is breaking it down into a logical, manageable sequence. After helping hundreds of dog owners, I've refined the process into seven fundamental steps. Follow this order, and you'll transform grooming from a chore into a bonding ritual.
Your Quick Guide to the 7 Steps
- Step 1: Brushing and Detangling
- Step 2: Bathing and Rinsing
- Step 3: Ear Cleaning and Inspection
- Step 4: Nail Trimming and Paw Care
- Step 5: Hair Trimming and Shaping
- Step 6: Teeth and Oral Hygiene
- Step 7: The Final Check and Reward
- What Tools Do I Need for Home Dog Grooming?
- How Often Should I Groom My Dog?
Step 1: Brushing and Detangling
Never, ever skip this step. Bathing a matted dog is the single biggest mistake I see. Water tightens mats, turning a small tangle into a solid, painful pelt that often requires shaving. Brushing first removes loose hair, dirt, and distributes natural oils.
The tool matters more than you think. Using a slicker brush on a short-haired Boxer is pointless, while a bristle brush on a Poodle does nothing.
- For double-coated breeds (Huskies, Retrievers): Start with an undercoat rake to remove the dense underfur, then follow with a slicker brush.
- For long, silky hair (Yorkies, Maltese): A pin brush and a wide-tooth comb are your best friends. Work in small sections.
- For short-haired dogs (Dachshunds, Beagles): A rubber curry brush or a grooming mitt works wonders to grab loose hair and polish the coat.
If you hit a mat, don't just yank. Hold the base of the mat firmly near the skin to avoid pulling, and gently work it apart with your fingers or the tip of a comb. For severe mats, it's kinder to carefully clip them out with blunt-tipped scissors.
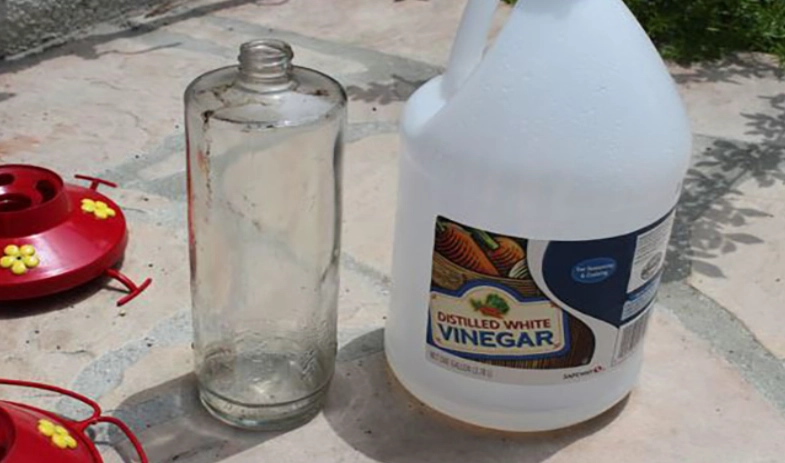
Step 2: Bathing and Rinsing
Place a non-slip mat in the tub or sink. This gives your dog confidence. Use lukewarm water—test it on your wrist like a baby's bottle. A common error is water that's too hot for their sensitive skin.
Thoroughly wet your dog, avoiding the head for now. Apply a dog-specific shampoo diluted according to the label. Human shampoo disrupts their skin's pH. Massage it in a circular motion, which feels great and cleans deeply. Pay attention to the belly, armpits, and paws.
Now, the most critical part: rinse until you think you're done, then rinse for two more minutes. Soap residue is a leading cause of itchiness. Run your fingers through the coat against the grain. If it squeaks, you're close. If it feels slick, keep rinsing.
Apply conditioner if needed (great for long-haired or dry-coated breeds), let it sit, and rinse thoroughly again.
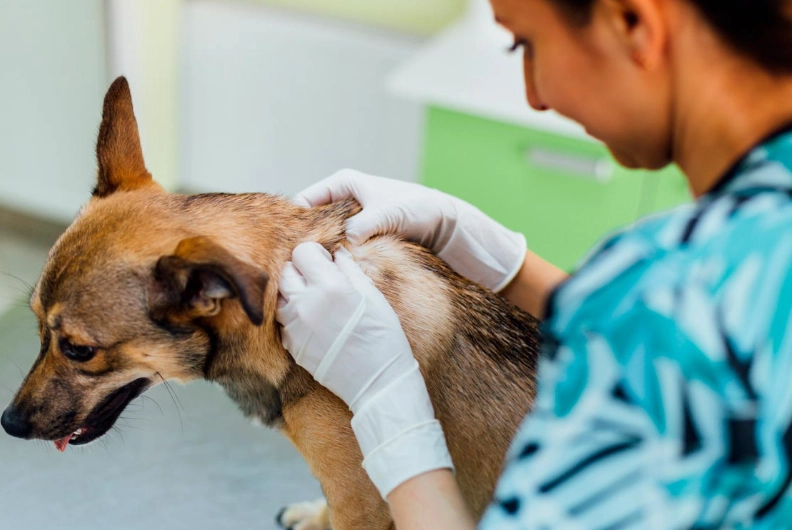
Step 3: Ear Cleaning and Inspection
Moisture from the bath can get trapped in the ear canal. This step is non-negotiable for floppy-eared breeds like Cocker Spaniels or Basset Hounds.
Squeeze a veterinarian-approved ear cleaning solution into the canal—don't just dab it on a cotton ball. Gently massage the base of the ear for 20 seconds. You'll hear a squishing sound. Let your dog shake its head (this is the fun, messy part), then use a cotton ball or gauze to wipe out the visible part of the outer ear canal. Never use cotton swabs (Q-tips) deep in the ear. You risk compacting debris or damaging the eardrum.
While you're there, smell the ear. A healthy ear has a mild, neutral scent. A yeasty or foul odor is a red flag for infection.
Step 4: Nail Trimming and Paw Care
This is where most owners get nervous. The fear of hitting the quick (the pink, sensitive part with blood vessels) is real. For light-colored nails, it's visible. For black nails, it's a guessing game.
My method: make several tiny clips, looking at the cut end of the nail after each snip. Before you hit the quick, the center of the nail will start to look like a grayish/pinkish circle of soft material. Stop immediately. If you do nick the quick, stay calm. Have styptic powder or a styptic pencil on hand. Apply pressure with it for a minute. It stings briefly but stops the bleeding.
Don't forget the dewclaws! They don't touch the ground and can curl into the paw pad if neglected.
Finish by checking the paw pads for cuts or cracks and trimming any long hair between the toes that can collect ice balls or debris.
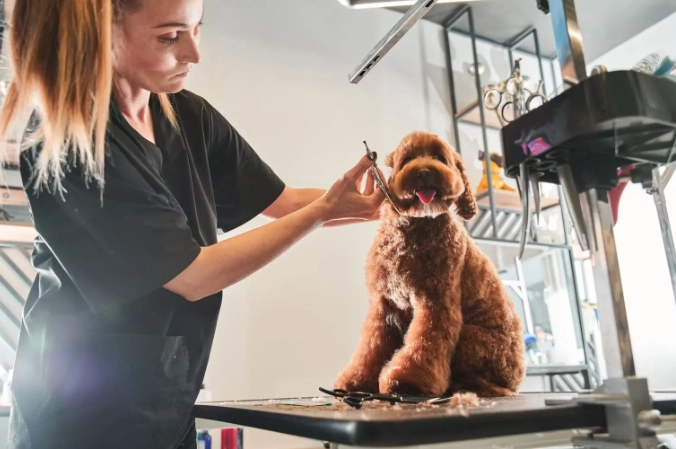
Step 5: Hair Trimming and Shaping
This step varies most by breed. The goal is neatness and hygiene, not a show-ring cut unless you're skilled.
Key areas to address:
Sanitary Trim: Use blunt-tipped, curved scissors to carefully trim the hair around the anus and genitals. This prevents mess and keeps the area clean.
Face and Eyes: Trim hair that blocks vision. Hold the scissors parallel to the bridge of the nose and carefully trim upward, away from the eyes. For beards and mustaches, comb hair down and trim evenly.
Feet and Legs: Trim around the paws to give a "neat foot" look. Comb leg hair downward and trim any stragglers for a tidy appearance.
If you're using clippers, always go with the direction of hair growth, using the appropriate guard comb length. Let the clippers do the work—don't press down.
Step 6: Teeth and Oral Hygiene
Dental disease is rampant in dogs. A quick scrub during grooming can make a huge difference. If your dog isn't used to it, start by letting them lick dog-safe toothpaste (never human paste) off your finger. Progress to rubbing their teeth and gums with a finger brush or gauze wrapped around your finger.
The goal is the outside surfaces of the teeth, especially the large cheek teeth (premolars and molars) where tartar builds up. Even 30 seconds a few times a week is beneficial. Look for red gums, brown tartar, or broken teeth—these warrant a vet visit.
Step 7: The Final Check and Reward
You're almost done. Go over your dog one more time. Run your hands over their body, feeling for any mats you might have missed or ticks. Look in their eyes—are they clear? Give the coat a final brush to smooth everything out.
Most importantly, end every session on a high note. Offer their favorite treat, play a quick game, or give them a belly rub. You want them to associate grooming with positive outcomes, not just an ordeal to be endured. This positive reinforcement is what separates a stressful experience from a trusting routine.
What Tools Do I Need for Home Dog Grooming?
You don't need a salon's worth of equipment. A focused kit is better. Here’s a breakdown of essentials versus nice-to-haves.
| Tool Category | Essential Items | Nice-to-Have / Breed-Specific |
|---|---|---|
| Brushing | Slicker brush, Undercoat rake (for shedding breeds), Fine-tooth comb | De-shedding tool (e.g., Furminator), Dematting comb, Grooming glove |
| Bathing | Dog shampoo, Non-slip mat, Large cups for rinsing | Dog conditioner, Spray nozzle attachment, Towel warmer |
| Ears & Nails | Ear cleaning solution, Cotton balls/gauze, Nail clippers (guillotine or scissor-style), Styptic powder | Nail grinder/Dremel, Hemostatic powder, Ear drying powder |
| Haircutting | Blunt-tipped curved scissors, Thinning shears (for blending) | Professional dog clippers with guard combs, Straight shears, Grooming table with arm |
| Dental | Dog toothpaste (enzymatic), Finger brush or dog toothbrush | Dental chews approved by the VOHC, Water additives |
Invest in quality for the tools you'll use most. A good pair of scissors and a reliable brush last years and make the job easier.
How Often Should I Groom My Dog?
There's no one-size-fits-all answer. It depends entirely on your dog's breed, coat type, and lifestyle. A dog that rolls in mud weekly needs more baths than a couch potato. According to guidelines from organizations like the American Kennel Club (AKC), here’s a general framework:
| Coat Type / Breed Example | Brushing Frequency | Bathing Frequency | Full Grooming (Steps 1-7) |
|---|---|---|---|
| Short, Smooth Coat (Beagle, Boxer) | Weekly | Every 4-6 weeks or as dirty | Every 4-8 weeks |
| Double, Heavy Shedding Coat (German Shepherd, Husky) | 2-3 times per week (daily during shed seasons) | Every 6-8 weeks | Every 4-6 weeks (focus on de-shedding) |
| Long, Flowing Coat (Yorkshire Terrier, Afghan Hound) | Daily to prevent mats | Every 2-4 weeks | Every 3-6 weeks (haircuts crucial) |
| Curly/Wiry Non-Shedding Coat (Poodle, Schnauzer) | Every other day | Every 3-6 weeks | Every 4-8 weeks (professional clipping often needed) |
Nails should be checked every 2-4 weeks. Ears and teeth should be part of your weekly routine check, with cleaning as needed (typically every 1-2 weeks for ears, several times a week for teeth).
Questions Other Dog Owners Always Ask

Join the Conversation